You can read all the forums you want, watch all the YouTube videos there are, and buy all the books written by the pros, but the secret to landscape photography is not a simple one. It isn’t about equipment either. It is about a little luck and a lot of planning.
The great thing about landscapes is they’re super easy to shoot because they’re always there. The tricky part about them is understanding when the light is best and that sometimes means visiting the same places over and over again. Seeing the same place at different times of day and seasons can be really cool!
I employ a few devices to plan my shots. First and foremost I start with broad searches on Flickr, 500px, and Google. If I’m traveling somewhere I do this to try to find a photographic destination of interest. At home, I do this to see if there is a place I didn’t know about or if someone took a shot from a different perspective than I have. Let’s focus on how I do things at home because that is the most involved and I just did this yesterday.
Finding the spot
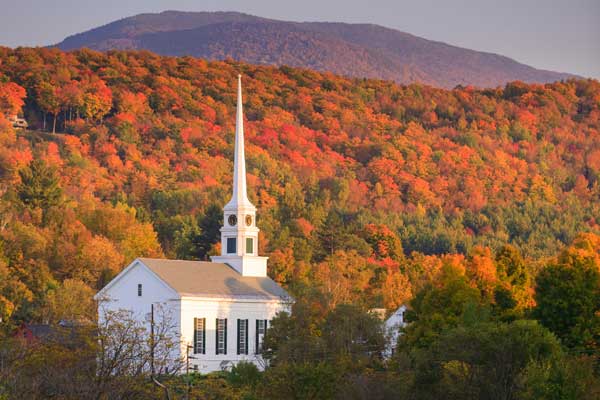
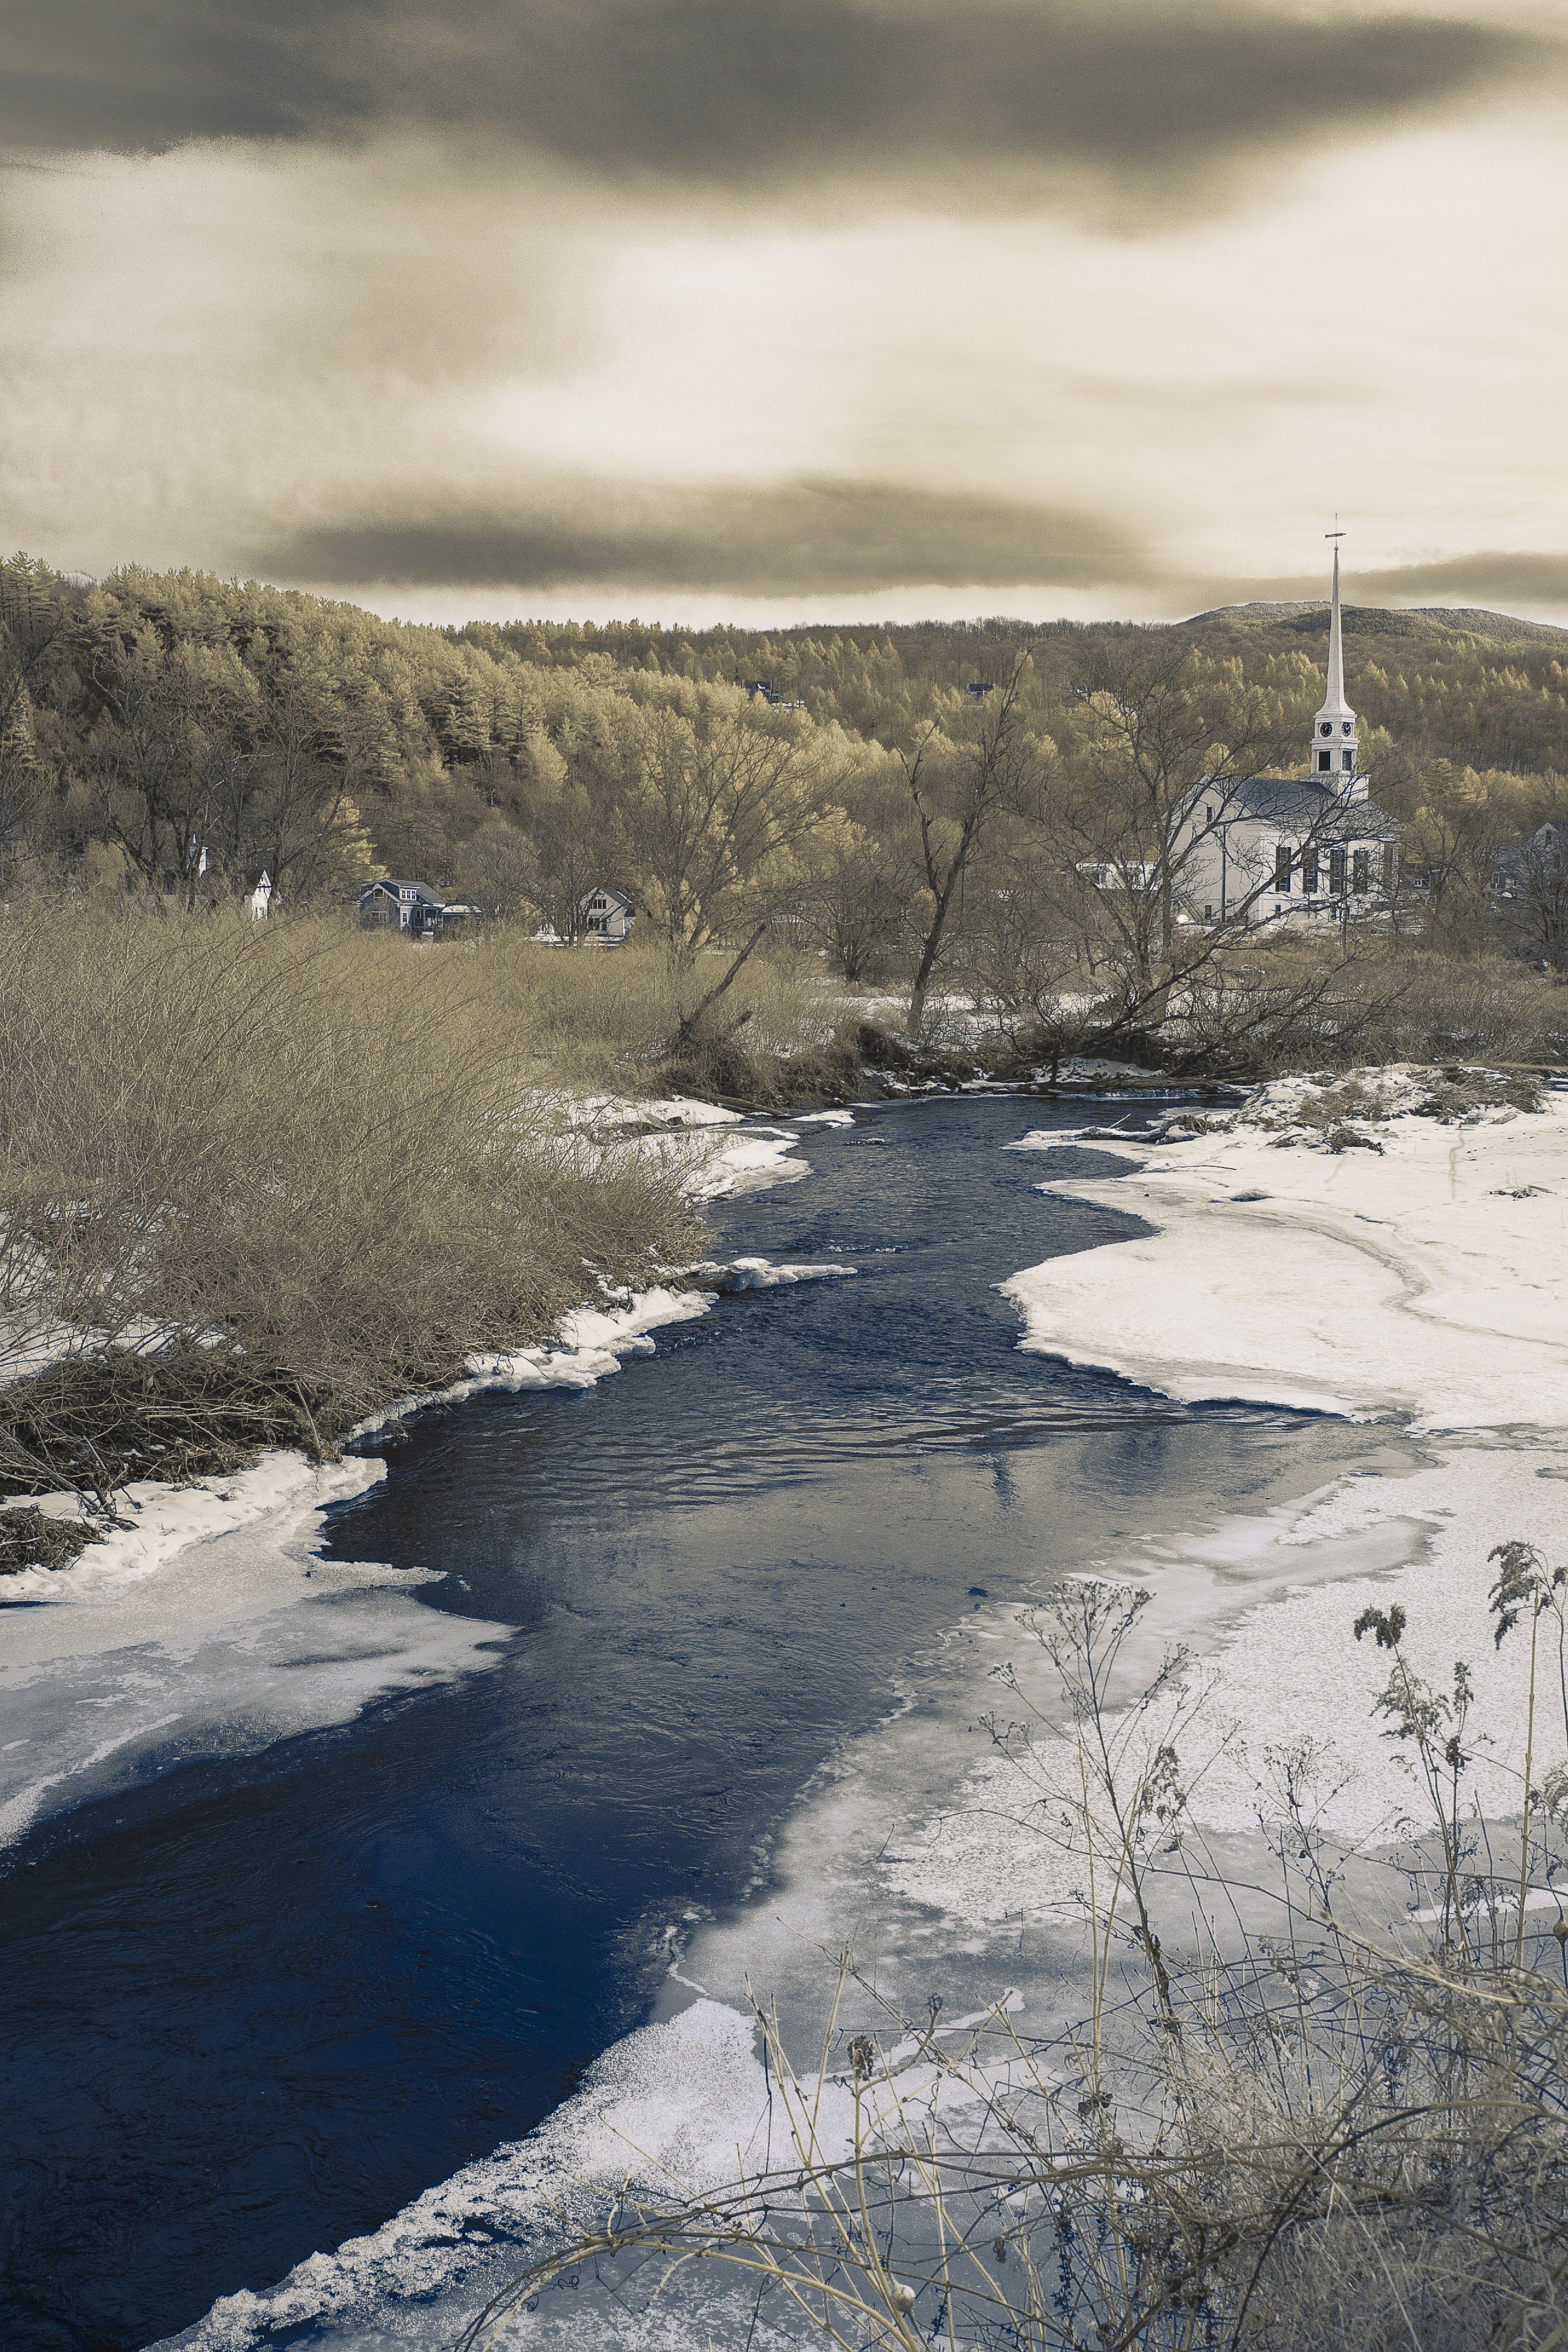
After searching “Vermont” on Flickr and 500px I was served tons of fall color images, along with Church Street in downtown Burlington. I’d then narrow things down to “Vermont Churches” because I know many steeples creep out of the trees and I wanted to make a contrasty infrared image of a church in the trees during the winter. Not many options come up with the exception of the exact thing I was looking for, but in the fall. It was a church in downtown Stowe that I have driven by over 100 times on my way to snowboard. But I had never thought of shooting it from the angle these photographers had done.

What’s the light like?
There are two AMAZING tools that are critical to forecasting when to be on the scene. The Photographers Ephemeris uses a position on Google Maps to figure out what kinds of elevation changes can impact the light at any given time of day. On a Mac you can hold the shift key down to see where the sun is going to throw shadows around your location – very cool! It also shows you the direction the sun is moving in correlation to your position on the map. This way you have a very precise planning mechanism for sunrise, sunset, and even the moon path.
 A word of caution: the Photographers Ephemeris is not intuitive. It does take a little understanding of elevations and an appreciation for the direction the sun is moving for that time of year.
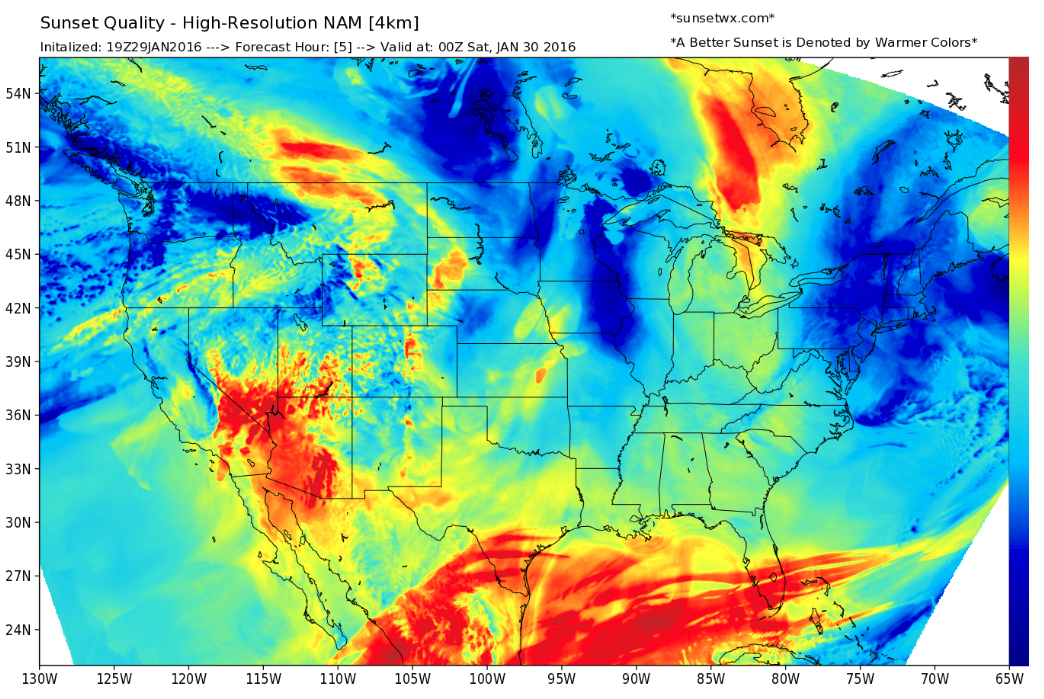
Although the Ephemeris is fantastic for figuring out when to be on site, it does not account for cloud cover. This is where SunsetWX comes in. This is sunrise and sunset strength forecasting model for the entire United States. In a simple glance one can tell whether the sun will shine through (denoted in red & orange colors) or not (blue) by different times of day. Of course you can always check your basic Wunderground forecast (not a bad idea to do too) for cloud cover, but SunsetWX is simpler.

Take all weather forecasts with a grain of salt. That is not a perfect science.
Lucky me. On January 28th, 2016 the skies were partially cloudy with a light breeze, so any sun blocking would move out of the way within a few minutes. Because I was shooting infrared I wanted the most contrasty situation I could get and that calls for as close to noon as possible. When the sun is highest the shadows are typically strongest.
How do you get there?
Now that you have your location, along with some idea for the kind of shot you want there, and have the best day planned for what the sun is doing how do you know where to park your car?
The first place I check is AllTrails. This is a hiking website where hikers share their thoughts on a trail and GPS coordinates. You’d be surprised how many places are considered a hiking trail. If you buy a membership and have a handheld GPS you can download track files to have actual directions as you walk. This is incredibly handy if you’re embarking into a new area that is covered in snow because the beaten path is gone!
What if there isn’t a trail? This is the time for Google Earth Pro. I have linked you to the download page for it because the Pro version is now free. After you have downloaded it do a Google search for “Google Earth Pro Free” and it will direct you to the code you need for free activation.
Google Earth Pro kicks Google Maps’ ass!
Sure, you can use Google Maps or Apple Maps or whatever zooming map you like to find parking spots, but the 3D rendering on the ground level in Pro is far superior. So, find your location on the map and scan the area for parking spots by zooming in and panning around. If it is a populated area I like to look for grocery stores or strip malls where nobody is going to worry about an unattended car for a while. If you’re off the beaten path look for boat ramps near water, churches (not on Sundays), or whatever might look like a pull-off. This is where ground view in Google Earth Pro really helps.
The Stowe Church is in a populated area, so finding parking is super easy. I actually skipped the mapping step on this shoot because I knew the area so well. After the shoot I discovered a parking complex right next to the spot I didn’t know was there, but do now. In the future I’ll save myself a good 1/2 mile of walking up/down hill and just pull up a few feet away from the spot.
On site
All the planning in the world will never 100% prepare you for what’s happening on location. This is where all the forum, book, and school advice comes into play. You still have to know how to use your gear and be able to frame your image.
Be ready to improvise.

The future
Because planning works so well for me and Vermont is such a beautiful place with so many locations I employ a few different things to get ready for future shoots.
 The most important thing is my Garmin GPS device. I use an advanced handheld model that isn’t cheap because I have a tendency to wander far off the beaten path. I have gotten lost in the woods at sunset before and that is scary! So, my GPS serves as a lifeline back to my car, but it also tracks my entire outing. While driving to a planned spot I notice things like old decaying red barns, or a single majestic tree standing on top of a hill by itself, or even a hilltop that looks like it could have a nice view. There is a wonderful button on my GPS called “Mark” and I hit that to remember the spot for later. When I get home I plug the GPS into my computer and download the track log into Garmin’s Basecamp software. It shows me where I was with timestamps and keeps all the points I marked in the sidebar. I just click the marked spot and add more information about it (if I didn’t do it directly into the GPS because I was driving). Now I have a database of GPS locations within the Basecamp software that I can plan shoots around.
That isn’t the coolest part though! Adobe Lightroom (my photo cataloging and editing software) has a mapping feature. You can export a GPX file from Garmin Basecamp and import it into Lightroom, so Lightroom now knows to put geo-coordinates onto your photos. And now Lightroom’s map can show you your favorite shooting locations based on how many times you’ve shot there.
But that’s not enough either. Utilizing Google Earth Pro with the Garmin you get a much more robust map with folders for organizing locations along with multiple ways to share a route.
So mapping things if pretty badass these days. I just wish I could export routes to my car’s navigation system (some makes will do that; not mine), but I bet that’s only a few short years away.
Getting ridiculous
If you know me you know that I’m a fiend for technology…or maybe you’ve already assumed that if you’ve read this post. I’m working on a location catalog because I want to revisit certain places for special times when I think they’re going to make amazing photos. For example, the Milky Way is easily photographed in the summer months, and some locations might have a tree or rock that frames the Milky Way nicely. I’d like to log that location and tag it with “Milky Way” so I can search for “Milky Way” in July to see what spots I should go visit after the sun goes down.
A catalog also allows for notes, so I can remind myself that the person who lives next door is a sweet elderly lady, so knock on the door to say hello. This helps to budget a little extra time. You can also notate that you slipped on something last time so take shoes that work better on slimy surfaces (especially at night).
I have not found the perfect cataloging system yet. I’ve tried quite a few, and the best seems to be an old software I used, at one time, for tracking software licenses called Yojimbo. There are two problems with it for this use: 1) it isn’t shareable and 2) it is built more for text when I’m trying to use a lot of visuals. The perfect system would have folders and tagging (Yojimbo does) along with photo thumbnails and a way to easily store latitude and longitude coordinates….or even a map. In fact, Google Earth Pro or Garmin Basecamp would be quite good if it had a way to tag things, but all you can do is place locations in folders. When I get this dialed in, expect some sharing!
One Comment
Comments are closed.