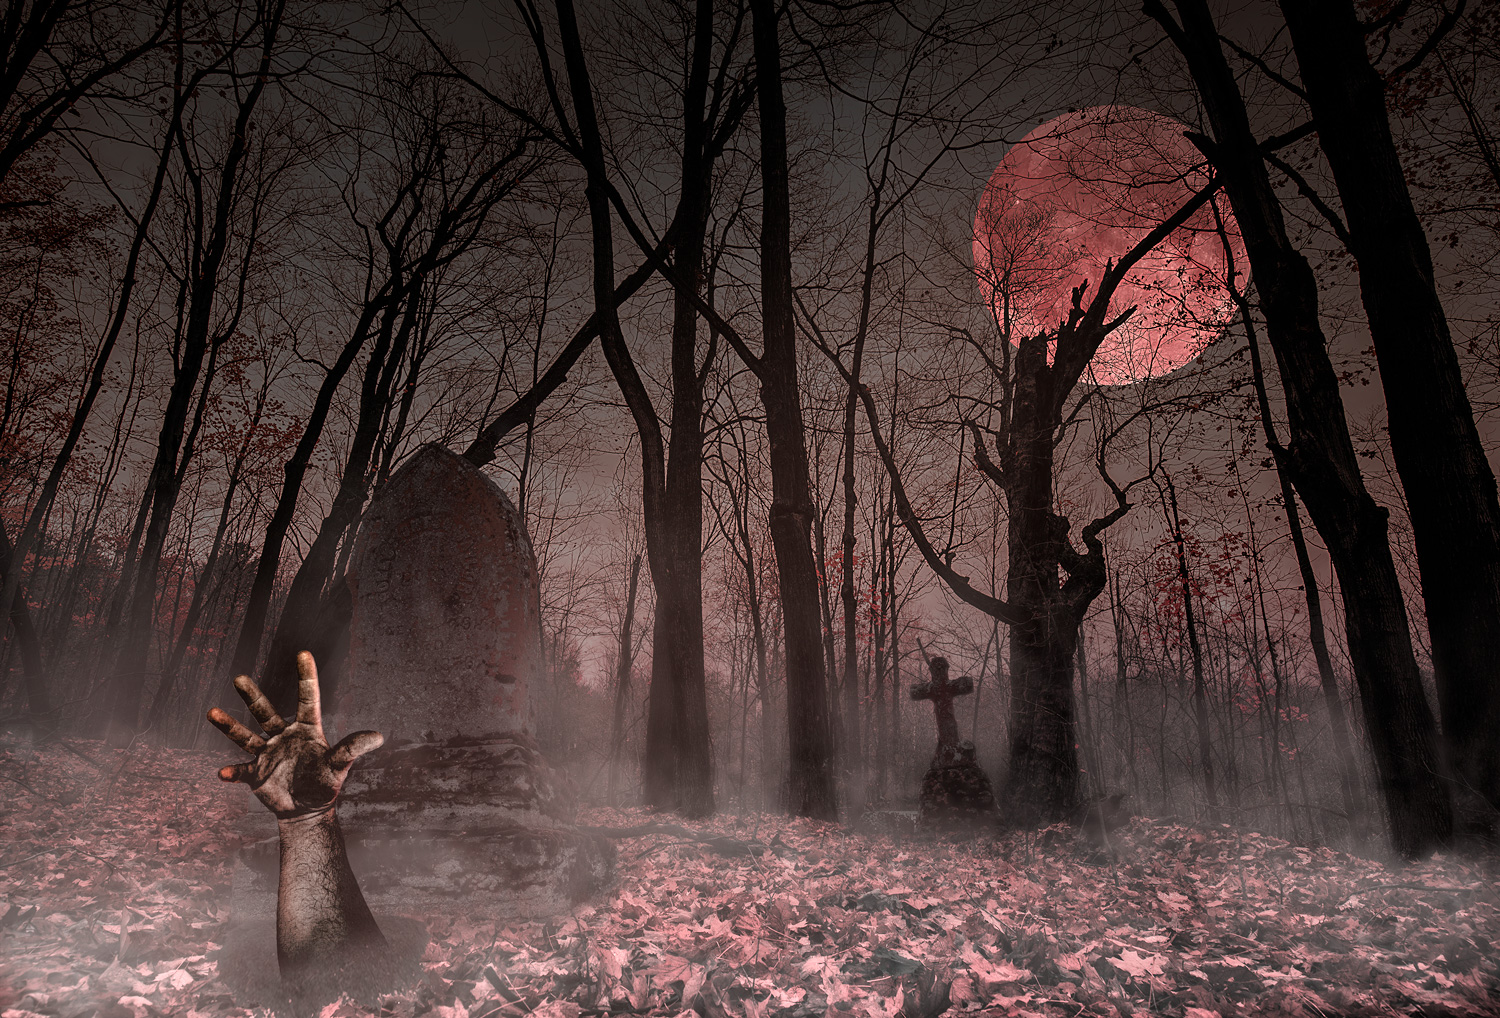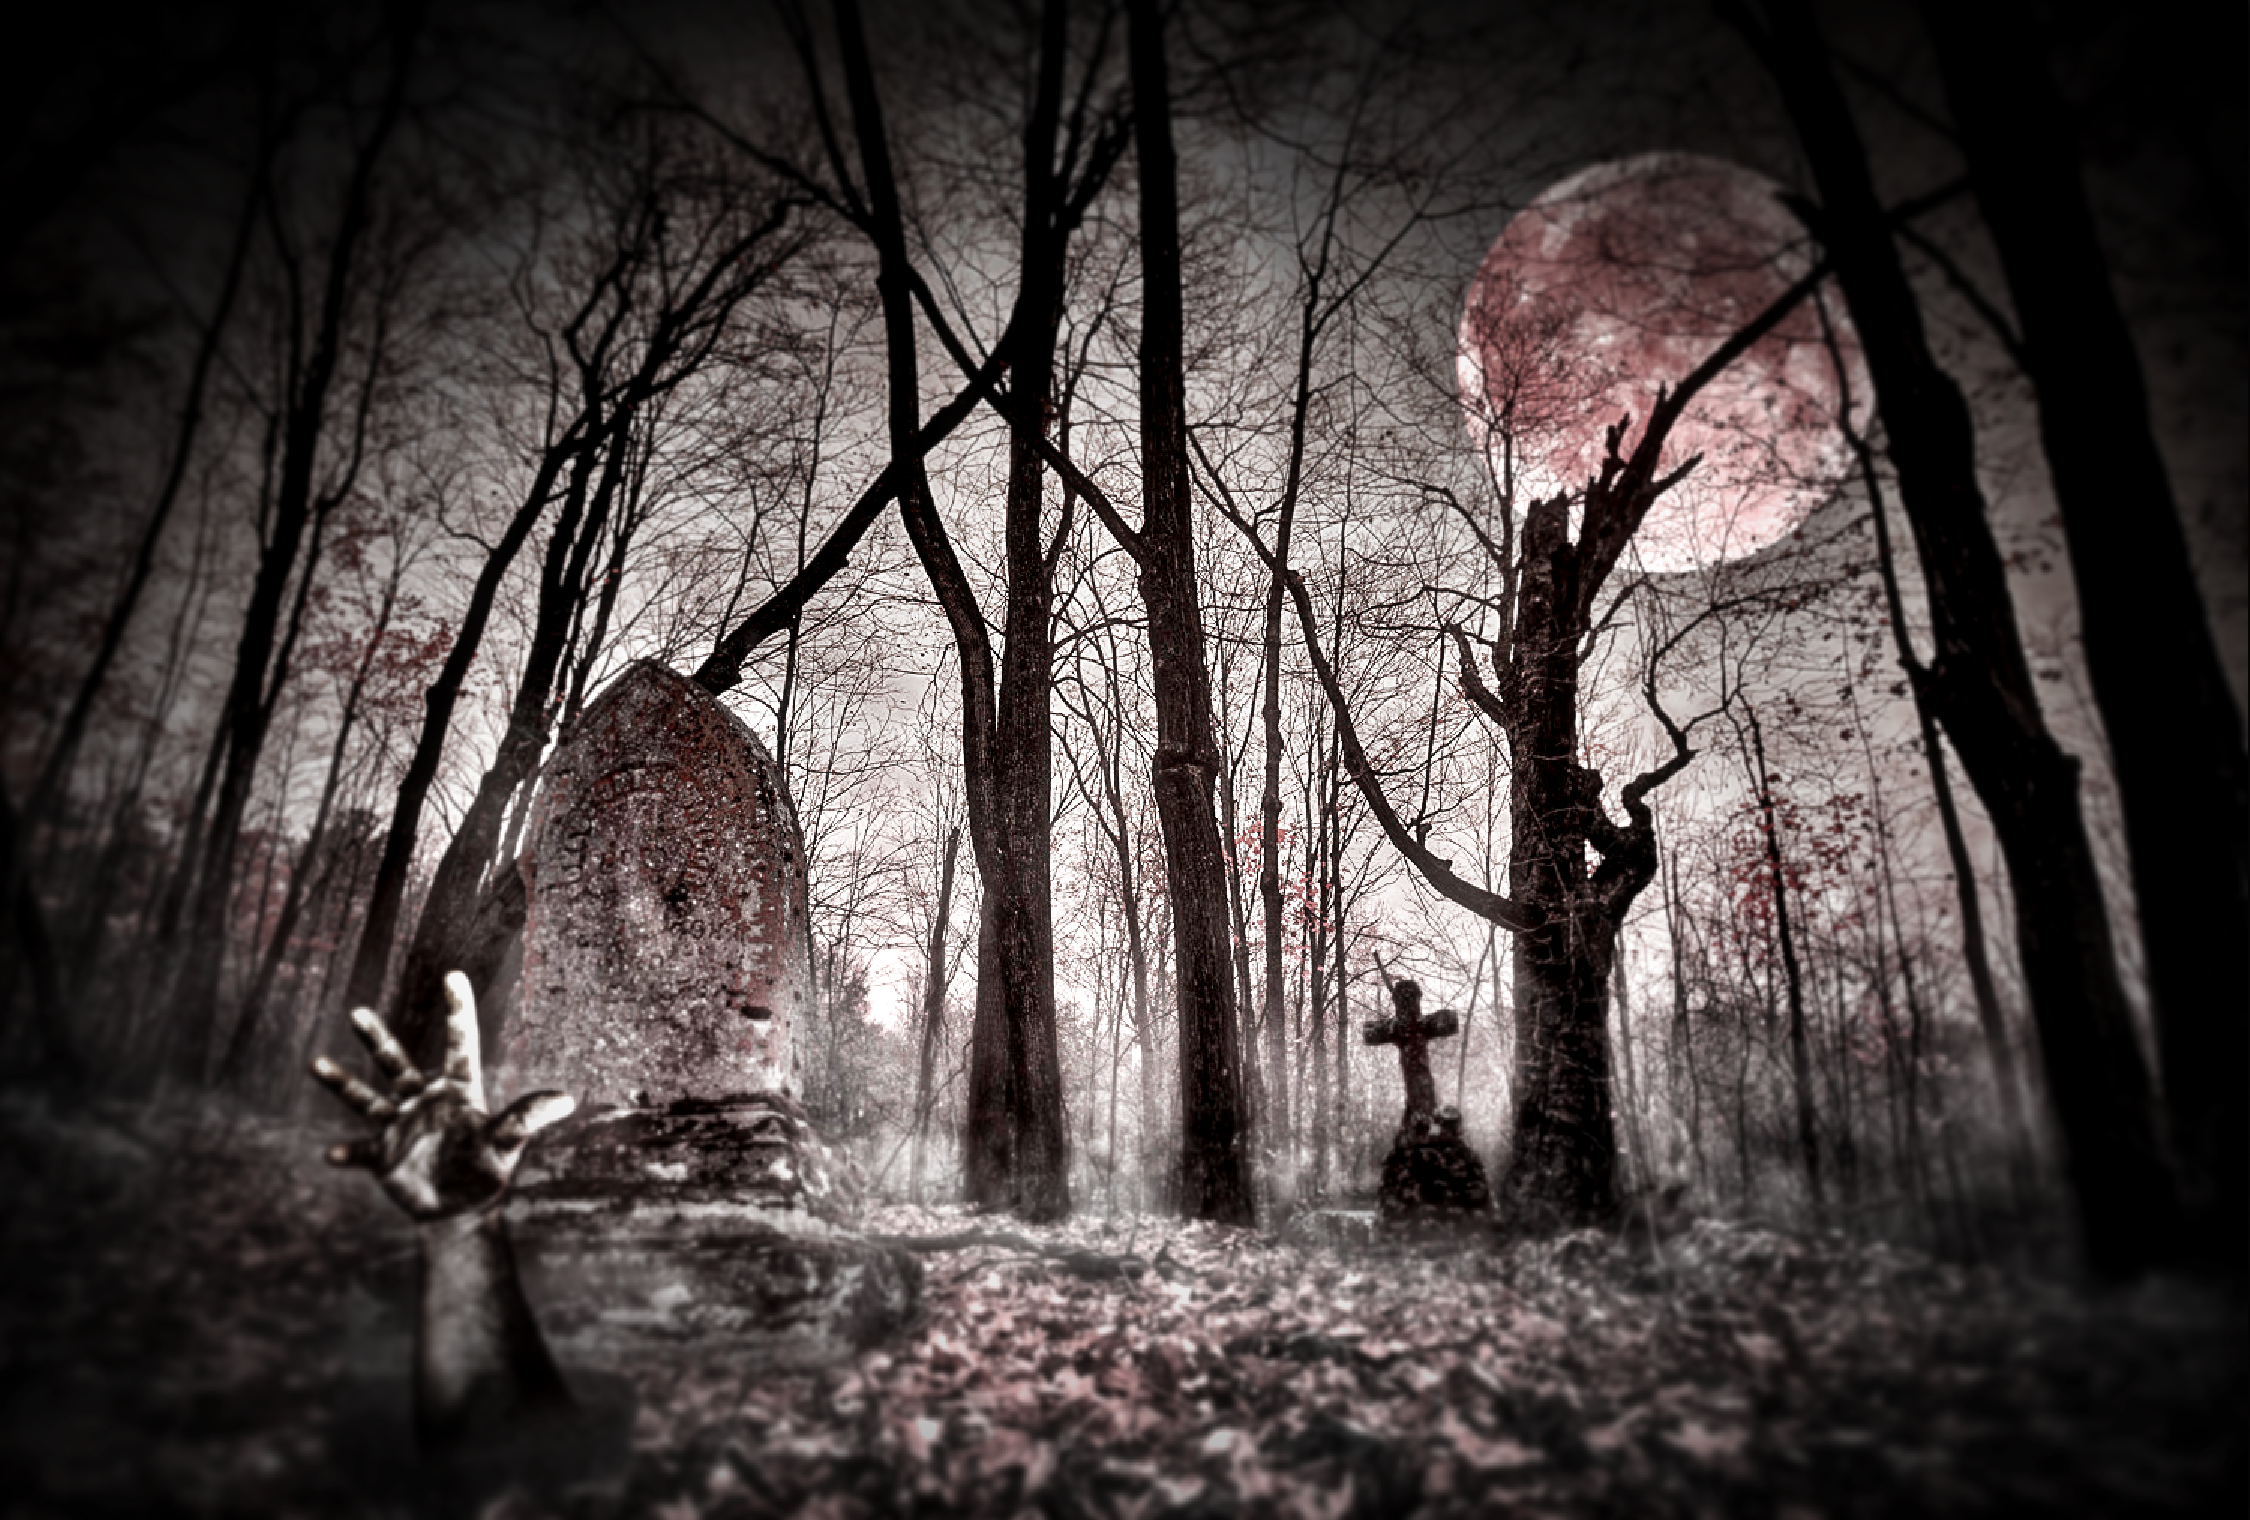
Ever since Photoshop came around significant manipulation of imagery has been a daily visual in our lives. Some use it to make models more pretty and others use it to turn the bland into amazing. But nobody manipulates photos like Photoshop composite artists.
I have airbrushed models, replaced dull skies, and certainly done my fair share of removing unwanted things (especially power lines) from my photos, but I have never done a full-blown composite. This is my first.

All my compositing skills were learned from watching YouTube videos, and I’m not very skilled.
The first thing I did was to plan the composite. I also figured the easiest way to do things was to take the photos from the same ground level, using the same focal length, and as close to the same lighting as possible.
I wanted to do something for Halloween with the woods in my yard, but needed something to make it more creepy. With the dreary week mother nature has given us I drove down to the nearest cemetery to find the most decrepit graves. Two were worn and mossy having been cemented in 1871. After paying respects I put my tripod down and snapped some images. A 16mm focal length and 1/16th flash setting were used to best expose the details of the tombstones without standing on the dead. Leaving the lens, flash, and tripod attached I only turned off power and put the whole setup in my passenger seat. 5 minutes later everything was back out and setup in the woods off our driveway. Same settings, fire away.
The last part of the plan was to make a zombie hand. I threw a green gel on the flash and took a few pictures of my hand in various “zombie poses,” from the comfort of my white-walled office.
Then I imported everything into Adobe Lightroom (my usual workflow start) and applied the exact same amount of white balance, exposure, and sharpening adjustments. Then exported my favorite 3 images into Photoshop.
It started with editing the background: removing my house, and finding a light that didn’t look like 8:00 AM.

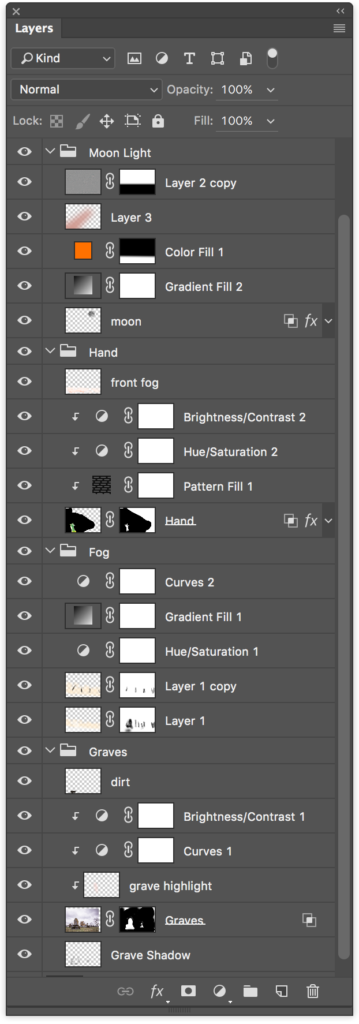
Then threw the graves in and got to masking.

The hardest part was the hand, and that is probably due to shooting it in completely different lights with very different coloring (remember that green gel on the flash). My original plan was to have a green zombie hand. I should have reshot it, but got sidetracked with having to watch a sick kid. It was also Halloween morning at this point, and I had to get it out. F’ing self-imposed deadlines!

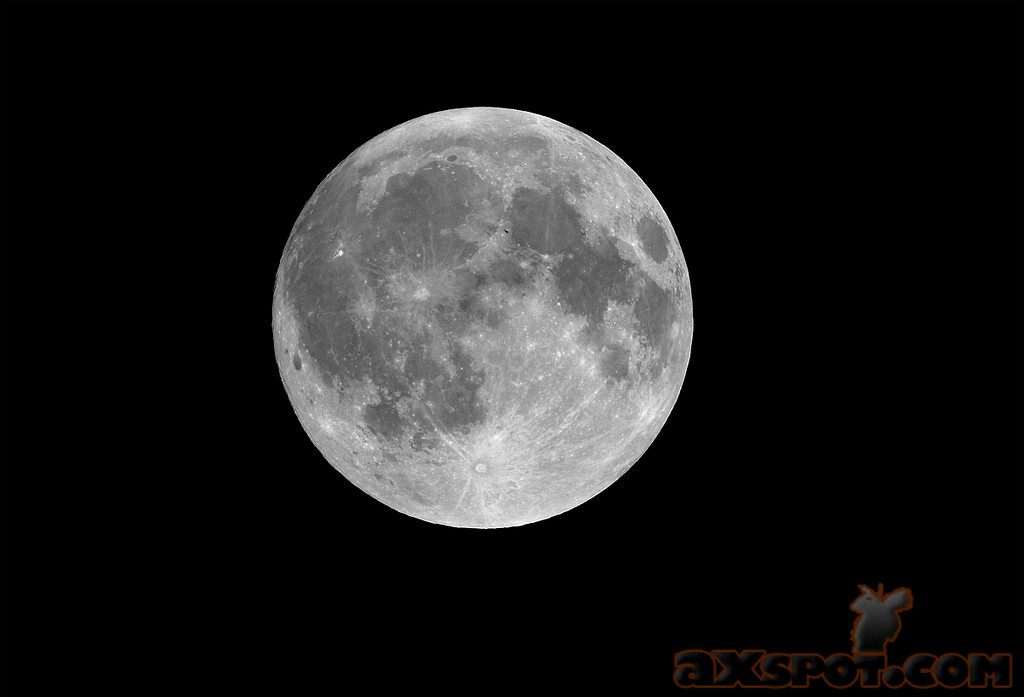
In the process of coloring the whole image I realized the hand had some highlights that weren’t making sense, so I dug up a moon I shot ten years ago and boom! This composite would have totally blown without that moon.

So that’s it in a nutshell. If you’re compositing from your own images the process is much more in-depth and planning is necessary. If you want to try doing some composite work, watch some YouTube videos on “Photoshop compositing” and then grab a few images off of a Google search for practice.
Expect more compositing from me. This was incredibly fun to create!

